How to safely disassemble a laptop? Mind while disassembling the laptop
Mind while disassembling the laptop
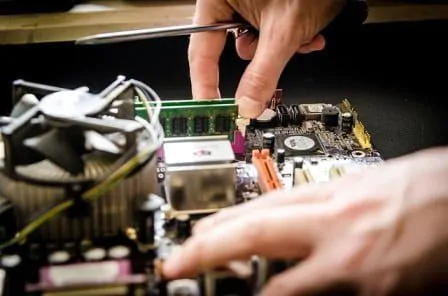
In this post we will know how to disassemble laptop? What are the things that need to be kept in mind while disassembling the laptop. Assembling and disassembling a laptop is the process of putting together or taking apart the components of a laptop. For those who are not tech savvy, this process can be quite daunting.
The best thing to do is read the manual that came with your laptop and follow the instructions. Some people find it easier if they take pictures of their steps so they can look back on them if necessary. If you are not sure how to assemble your laptop, it would be best for you to consult someone who has done it before or hire someone who is an expert in this area.
Free Online Computer Hardware Course
Learning how to take apart a laptop can be a useful skill. It is important to fix any problems that may arise with the laptop. It’s also important if you’re trying to upgrade your system or replace components. The benefits of learning how to disassemble a laptop are manifold. For one, it gives you the opportunity to upgrade your system and replace parts that aren’t working as well as they should be. Secondly, it gives you an opportunity to fix any problems that may arise with your current system and lastly, it can help you increase your knowledge about laptops and their inner workings so that you can use them better. Understand what is happening when you encounter a problem.

Mind while disassembling the laptop
Step 1# – Shutdown and Remove Battery
Keep in mind that we will first shutdown the laptop. After that we will take out its battery.
If we start opening the laptop without shutdown or shutdown, then there is a risk of the components of the laptop getting short, due to which your laptop may get damaged.
Mind while disassembling the laptop
Step 2# – Remove Screws & Back Panels
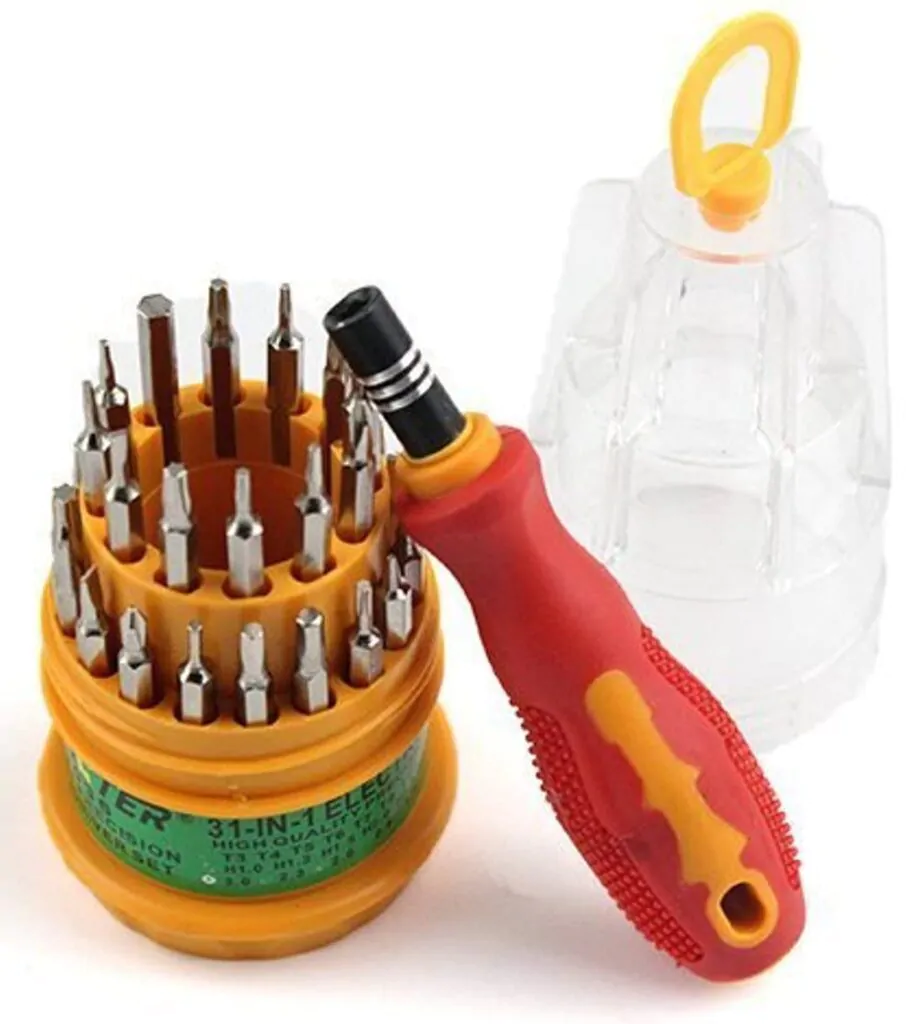
Now to open your laptop, you have to open all the screws on the back of the laptop comfortably, for that you will need a good screw driver, which you can easily get in the market. After that you have to remove the back panel easily. While opening the screws, it is necessary to keep in mind that from where you have removed which screw, so that you will not have trouble while assembling the laptop later.
Repairing Set Replaceable Straight Multitool for Laptop
Mind while disassembling the laptop
Step 3# – Remove Important Parts
After removing the screw and back panel, you have to slowly remove all the parts connected to the cabinet of the laptop, which part has to be removed first and which later depends on the company and model number of the laptop. In most of the laptops, first you have to remove the RAM, then its hard disk has to be removed, after that the keyboard has to be removed. All the parts have to be removed very carefully. Being in a hurry can break them and you may get in trouble.
Mind while disassembling the laptop
Step 4# – Remove Cabinet % Motherboard
You will need to disconnect all the cables from inside your laptop and then open it from the case. After that you have to take out the motherboard by separating the lock of the cabinet of the laptop using your fingernail. In this, you have to separate the cable of your laptop’s touch pad carefully because it is very delicate, it breaks soon.
Mind while disassembling the laptop
Step 5# – Remove Display
When you remove the motherboard of the laptop, a display cable is attached to it and an antenna cable is also attached to it, both are very important to be removed. Then the lock of the body above the screen has to be removed by removing it through a nail or blade. After that the screen will appear and you will see screws on all four corners of it, everyone has to be removed. Then we can take out the display by taking out the cable.

